
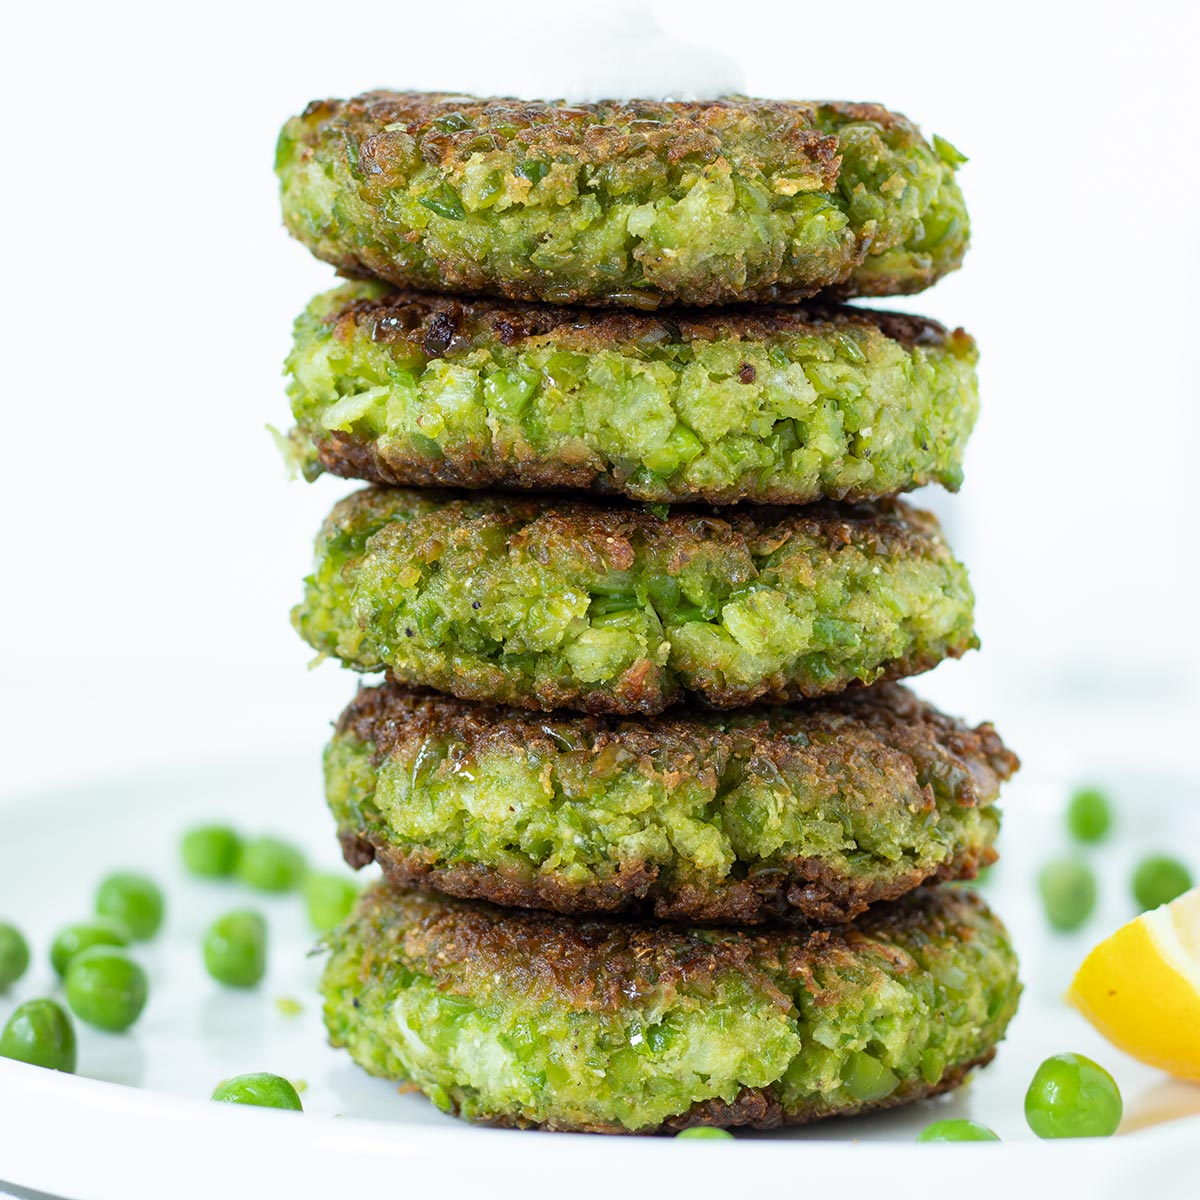
Vegan Green Pea Fritters are crispy, gluten-free patties made with no egg, totally plant-based, and budget-friendly.
These delicious stacks are perfect for meal prep and work great as a snack, appetizer, or dinner, especially when served with warm pita bread and a tangy sour cream dip.
Love more fritters recipes? Don't miss my TVP burgers, lentil patties, jackfruit fritters, and chickpea fritters recipes.

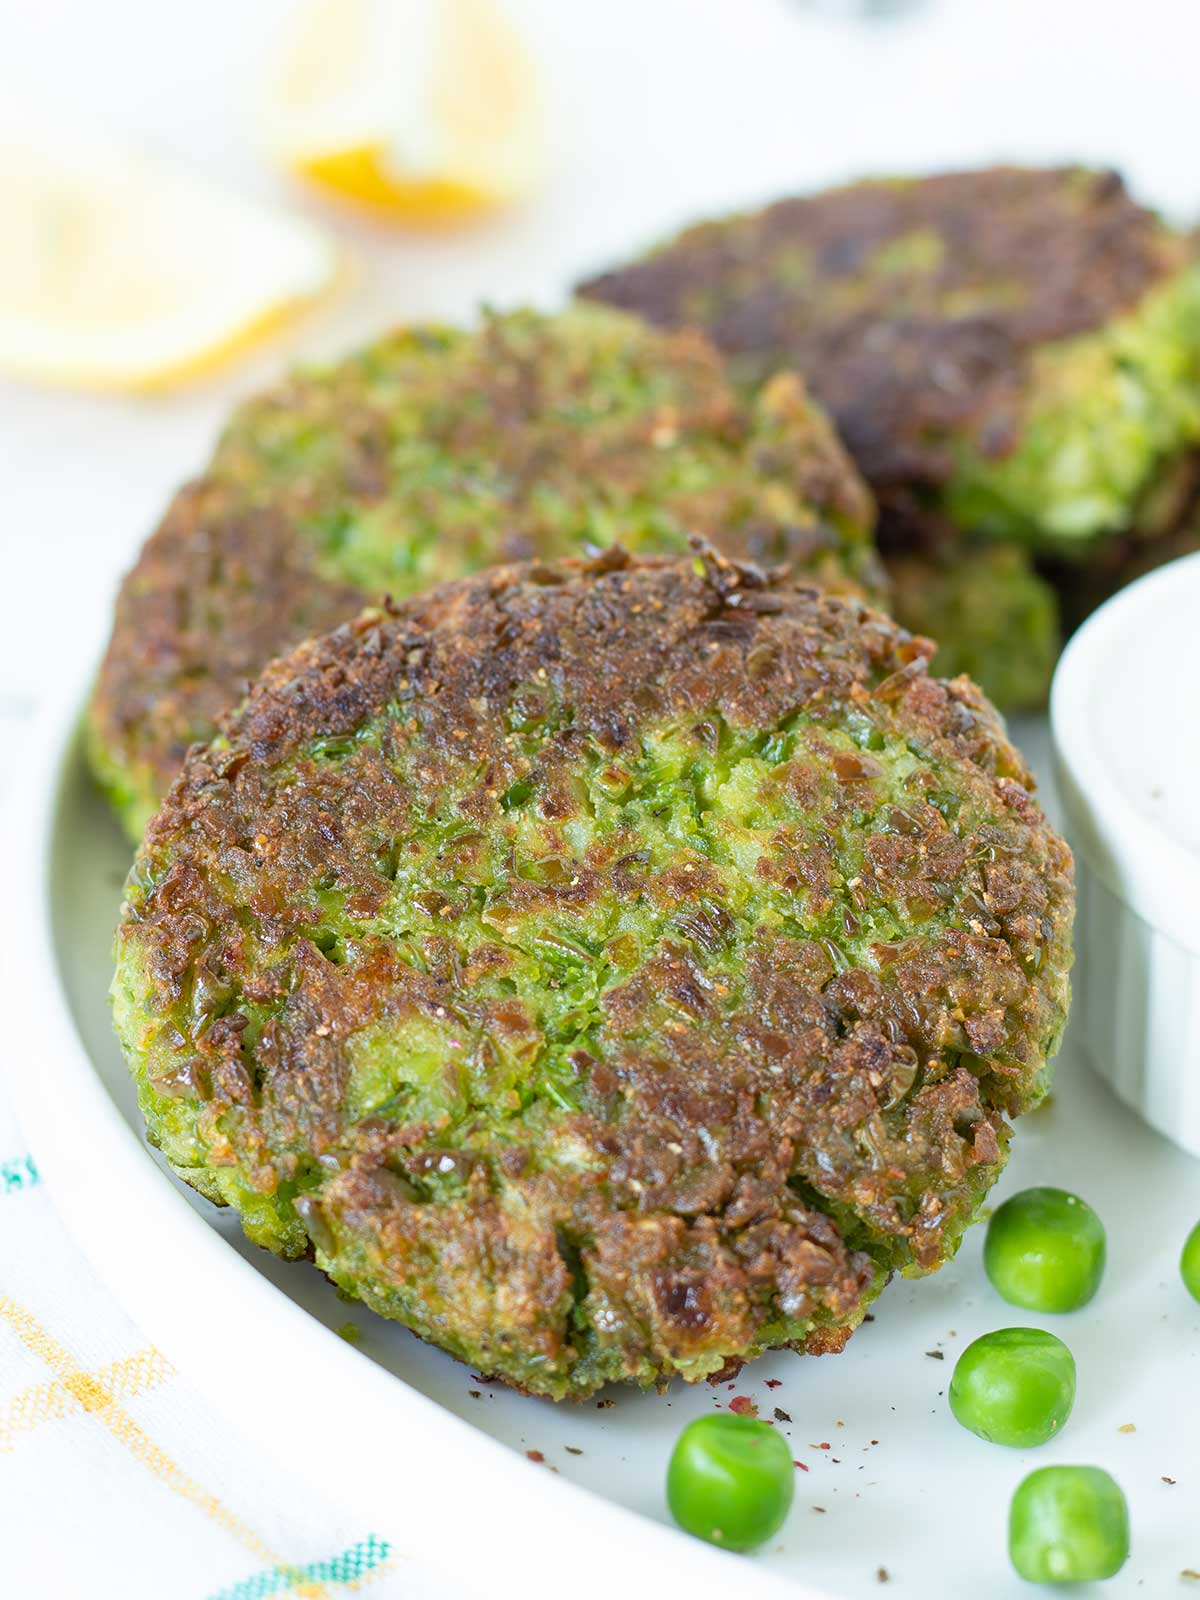
Crispy on the outside, soft on the inside, green pea fritters are vibrant, yummy, and plant-based.
Plus, they're super cheap to make-win-win! These pea patties have quickly become a new favorite, joining my go-to beetroot veggie burgers, vegan potato latkes, savory quinoa cakes, and zucchini carrot fritters.
They pair perfectly with everything: fresh salads, creamy dips, crusty bread, roasted veggies… You name it.
Meal prep? These are your new best friends, and they taste even better the next day. Just whiz everything in a blender or smash the peas by hand, easy peasy!
Jump to:
🥘Ingredients
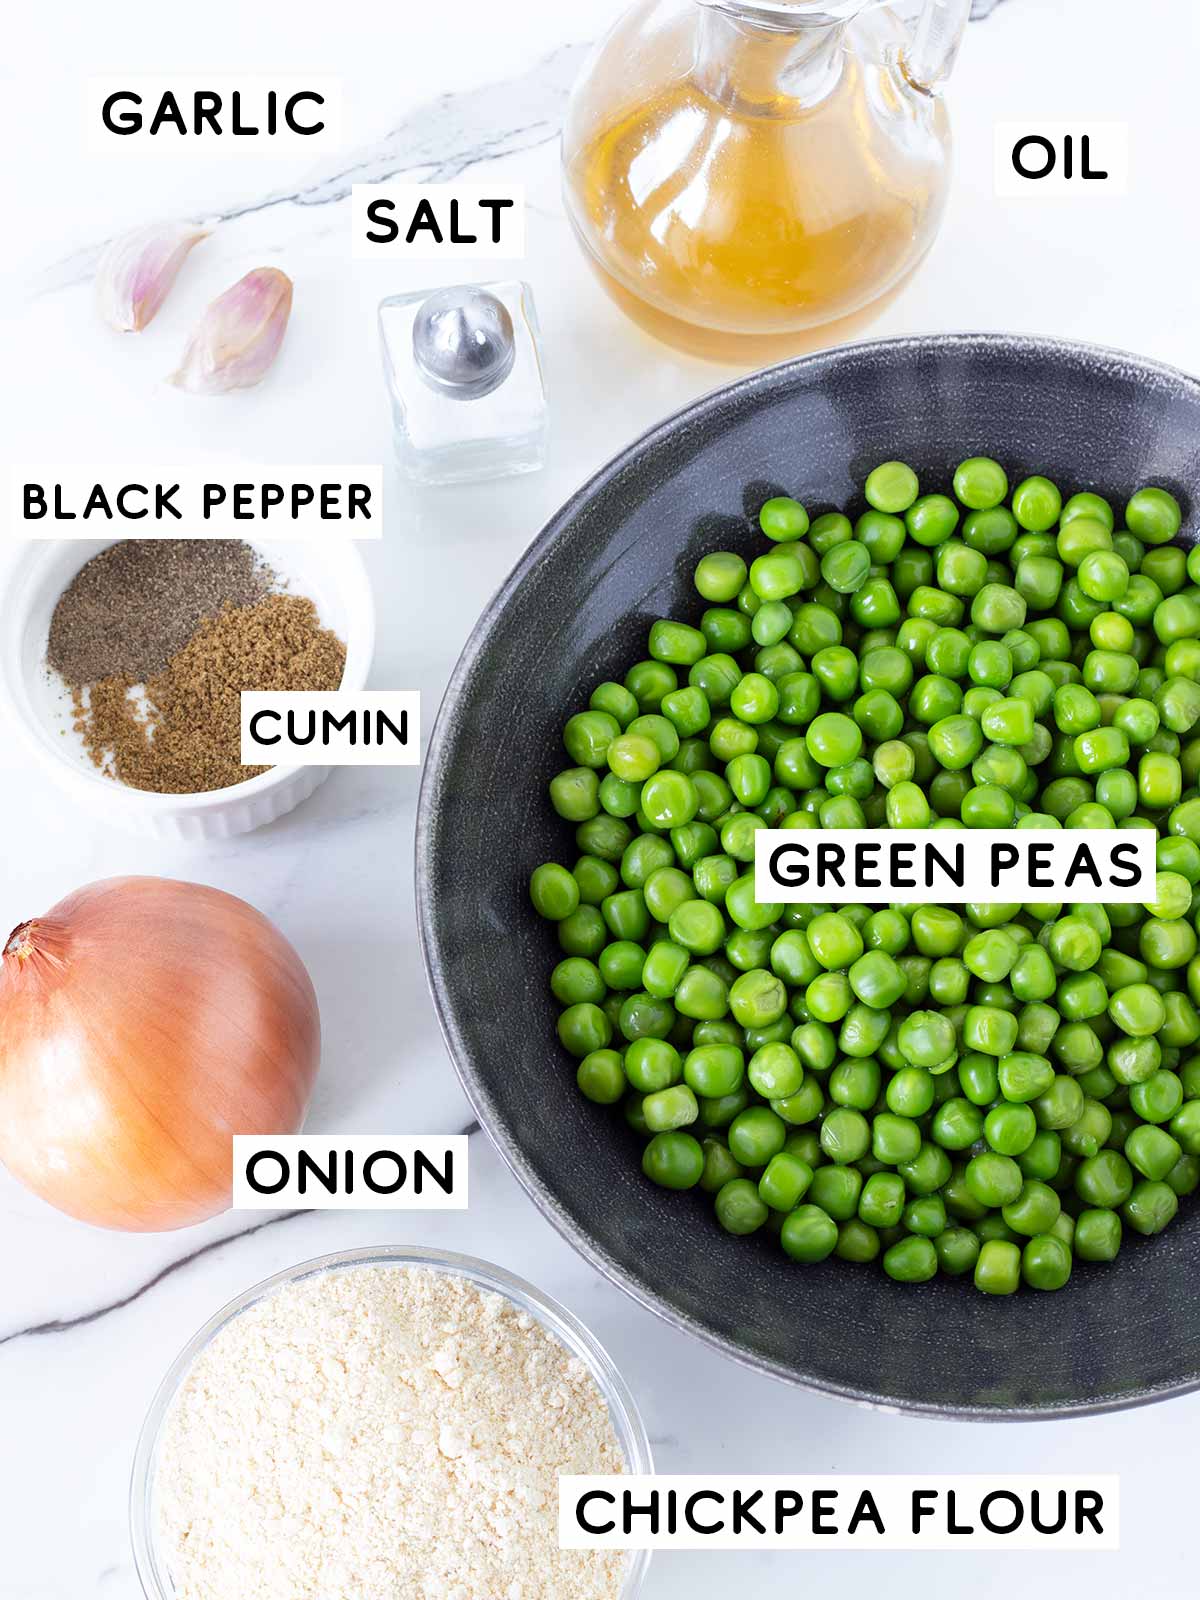
- Green peas: I used frozen, but fresh works perfectly well for this recipe.
- Chickpea flour: Acts as a binder to hold the fritters together.
- Onion & Garlic: Add depth of flavor and savory aroma.
- Salt, ground cumin & black pepper: Essential for seasoning and enhancing taste.
- Olive oil: For frying, it creates that golden, crispy crust everyone loves.
As always, you can find the full recipe with a list of ingredients with measurements in a printable recipe card at the end of this post.
🔪How To Make Green Pea Fritters

Step 1: In a food processor or blender, combine peas, chopped onion, garlic, chickpea flour, cumin, salt, and black pepper. Pulse until mostly smooth but still a bit chunky for texture.
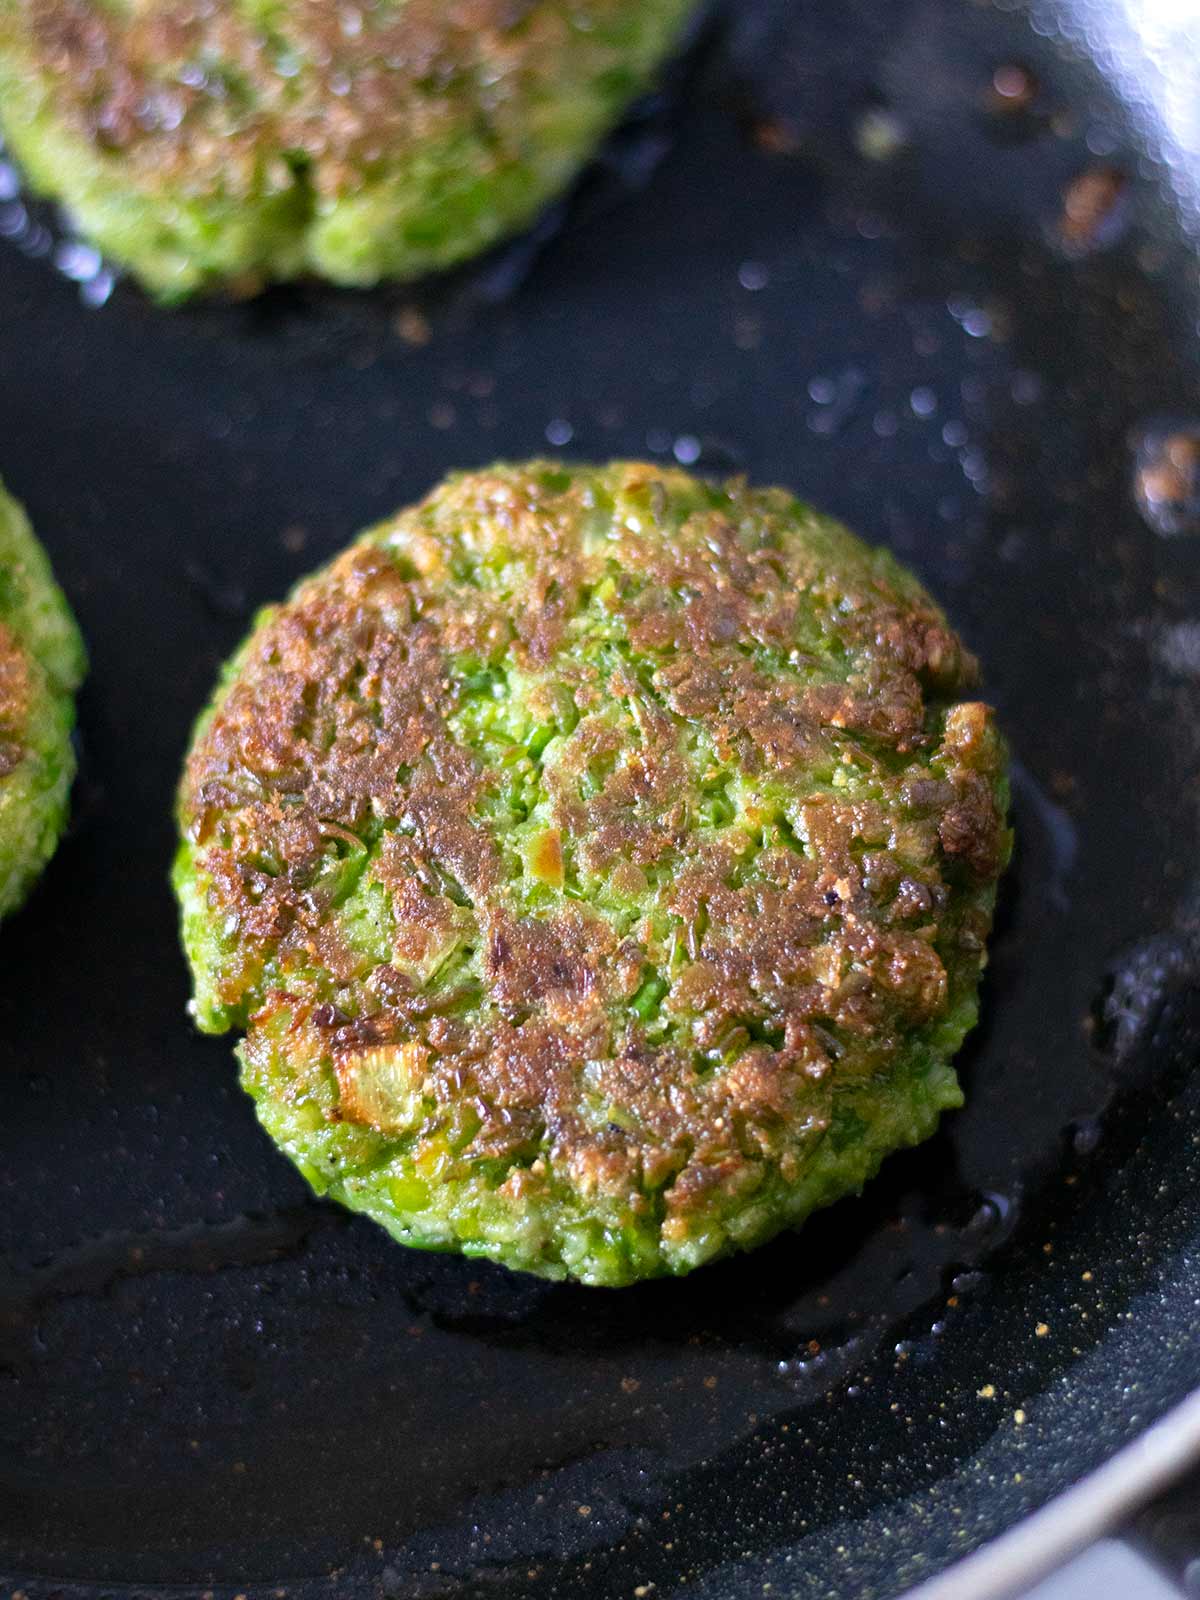
Step 2: Scoop about ⅓ cup of the mixture and shape into 2.5-3-inch patties. Heat olive oil in a skillet over medium heat. Fry the patties for 2 to 2.5 minutes per side until golden and crispy. Drain on paper towels and serve.
📋Substitutions and Variations
- Flour options: Chickpea flour is my go-to because it adds great protein and binds perfectly. But you can swap it for all-purpose flour, rice flour, or oat flour.
- Onion alternatives: If you're not a fan of raw onion flavor, try sautéing the onions first or swap them for shallots or green onions.
- No fresh garlic? Garlic powder works in a pinch and still gives you that savory kick.
- Oil substitutes: Olive oil is my favorite for the crispy crust, but avocado or sunflower oil also work well for frying.
- Spice it up: Add a pinch of smoked paprika, chili flakes, or fresh chopped herbs like cilantro or parsley for an extra flavor punch.
💡Marinela's Tips
- How to thaw frozen peas: Just soak them in hot water for 1 minute, drain, and they're ready to use.
- Adjust flour as needed: The amount of flour might vary depending on the moisture in your peas. Add a little more if the mixture feels too wet to handle.
- Don't over-blend: When pulsing the peas and aromatics, keep some texture. Too smooth and your fritters might turn mushy.
- Use a good non-stick pan and preheat the oil: A quality non-stick skillet prevents sticking and helps you use less oil. Make sure the oil is hot before adding your patties. This gives them a golden, crispy crust instead of letting them absorb excess oil.
- Don't overcrowd the pan: Fry in batches with enough space to flip easily and keep that crispy edge.
- No food processor? No problem! Mash peas with a fork, mince garlic, chop onion finely, and mix everything by hand. It's rustic and just as tasty.
❓Frequently Asked Questions (FAQ's)
Store fritters in an airtight container in the fridge for up to 3 days. Reheat them in a skillet or oven to keep them crispy before serving.
Yes, just place them on a lined baking sheet, lightly brush with oil, and bake at 200°C (400°F) for 20-25 minutes, flipping halfway through until golden and crisp.
Absolutely! Let them cool completely, then freeze in a single layer for up to 2 months. Reheat in a skillet or oven until warm and crispy.
Yes, fresh green peas work great! Just blanch or cook them for 2-3 minutes to soften before blending.

🍽Serving Sugesstions
These green bites shine alongside a variety of dishes! For a comforting meal, try them with a warm bowl of my creamy mushroom soup and some warm flatbread.
Or pair them with a fresh and vibrant salad with arugula and spinach, or a colorful beetroot salad.
They also make a delightful side to an eggless potato salad, especially with a dollop of vegan mayonnaise, plant-based sour cream, or a drizzle of homemade ranch dressing for extra flavor.
🥗More Green Pea Recipes
📖 Recipe
Vegan Green Pea Fritters (Gluten-Free)
Equipment
- Food processor or blender
- Non-stick frying pan
Ingredients
- 2 cups frozen green peas thawed, drained (*see notes)
- ½ cup chickpea flour or all-purpose flour
- 1 yellow onion chopped (~¾ cup)
- 2 garlic cloves chopped or minced
- ½ teaspoon ground cumin
- ¼ teaspoon ground black pepper
- 1 teaspoon salt
- 2-3 tablespoons olive oil (for frying)
Instructions
- In a food processor or blender, combine all ingredients and pulse until mostly smooth but still slightly chunky for texture.2 cups frozen green peas, ½ cup chickpea flour, 1 yellow onion, 2 garlic cloves, ½ teaspoon ground cumin, ¼ teaspoon ground black pepper, 1 teaspoon salt
- Scoop about ⅓ cup of the mixture and shape into 2.5-3-inch patties. Heat oil in a pan over medium heat, then fry patties for 2 to 2.5 minutes per side until golden and crispy. Drain on paper towels before serving.2-3 tablespoons olive oil
Notes
- *Soak frozen peas in hot water for 1 minute, then drain before using.
- Store the fritters in an airtight container in the fridge for up to 3 days or freeze for up to 2 months. Reheat in a skillet or oven to keep them crispy before serving.
- If the mix feels too wet, add a bit more flour to help it hold.
- Preheat the oil so your fritters get crispy, not greasy.
- No blender? Mash peas, mince garlic, and finely chop onion, hand-mixed works great too.
- Avocado or sunflower oil are great swap for olive oil.
Nutrition
Tried these green pea fritters? I can't wait to see your tasty creations! Snap a pic and tag me @go_eatgreen on Instagram, and don't forget to share, save this post, and leave a comment and rating below.
HUNGRY FOR MORE? Subscribe to my newsletter and follow along on Facebook, Pinterest, and Instagram for all of the latest updates.
Comments
No Comments