
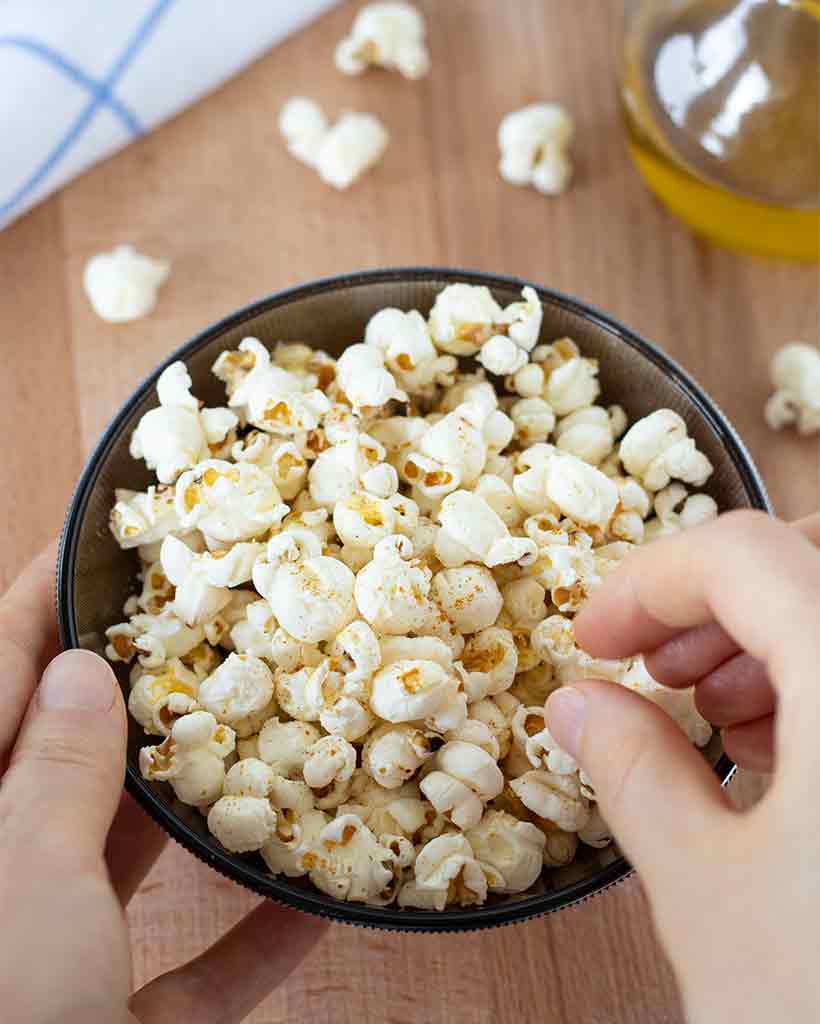
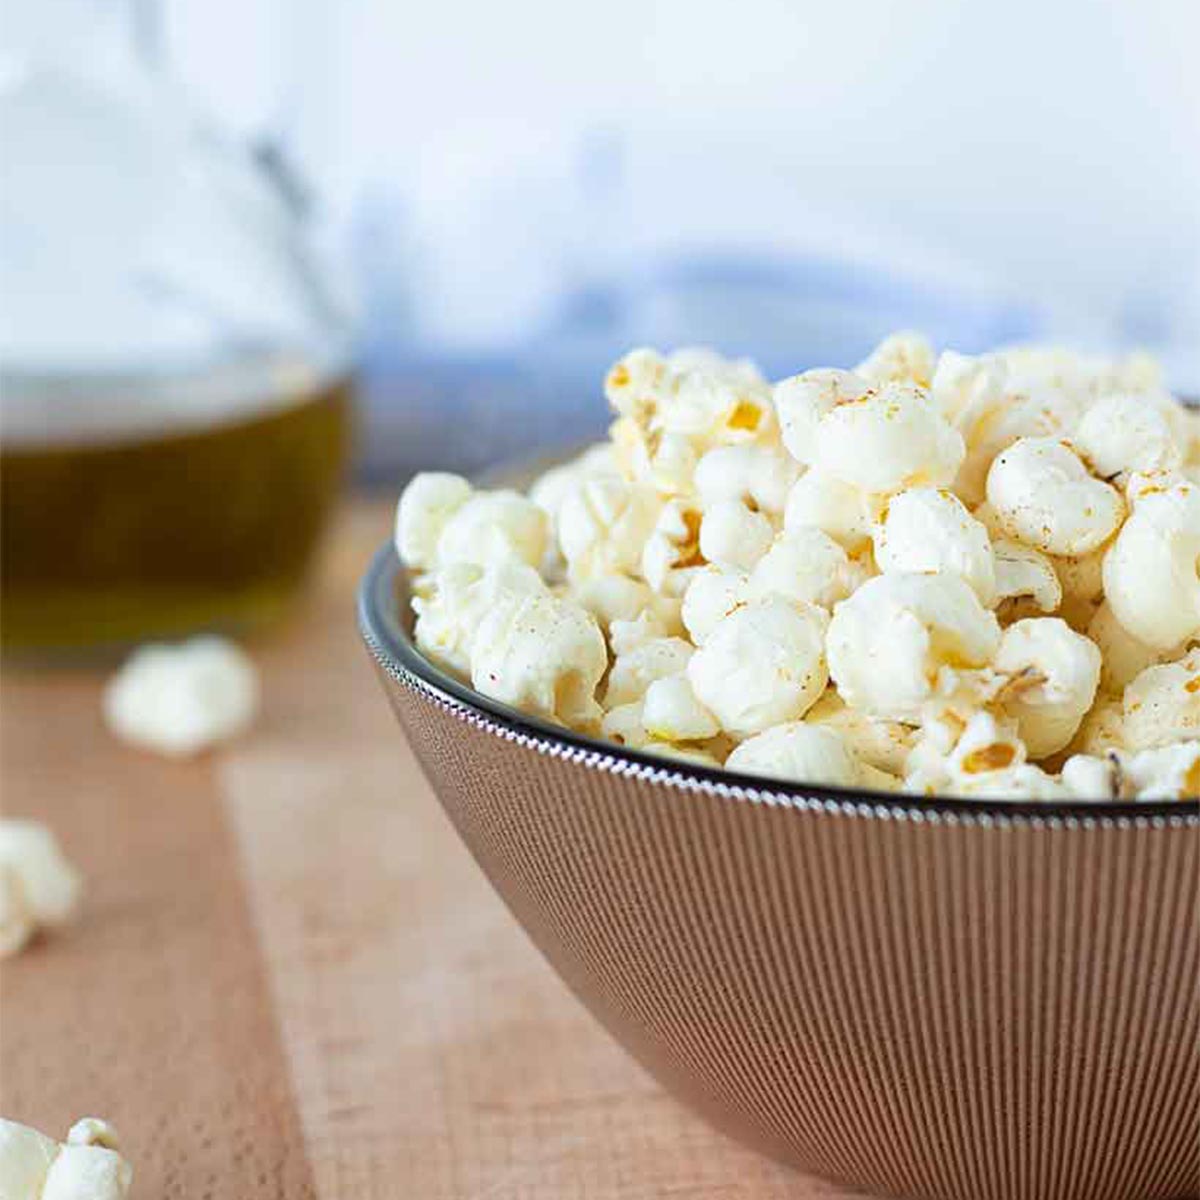
Homemade Stovetop Popcorn With Olive Oil is easy to make in a pot with just 3 ingredients and no special equipment.
In just 10 minutes, you'll have perfectly popped, light, and crispy vegan popcorn-no burnt kernels, no microwave needed.
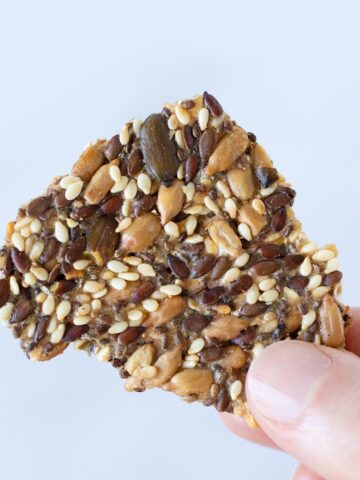
Try my spiced roasted chickpeas, garbanzo bean flour crackers, or these gluten-free crackers for more salty snack ideas.
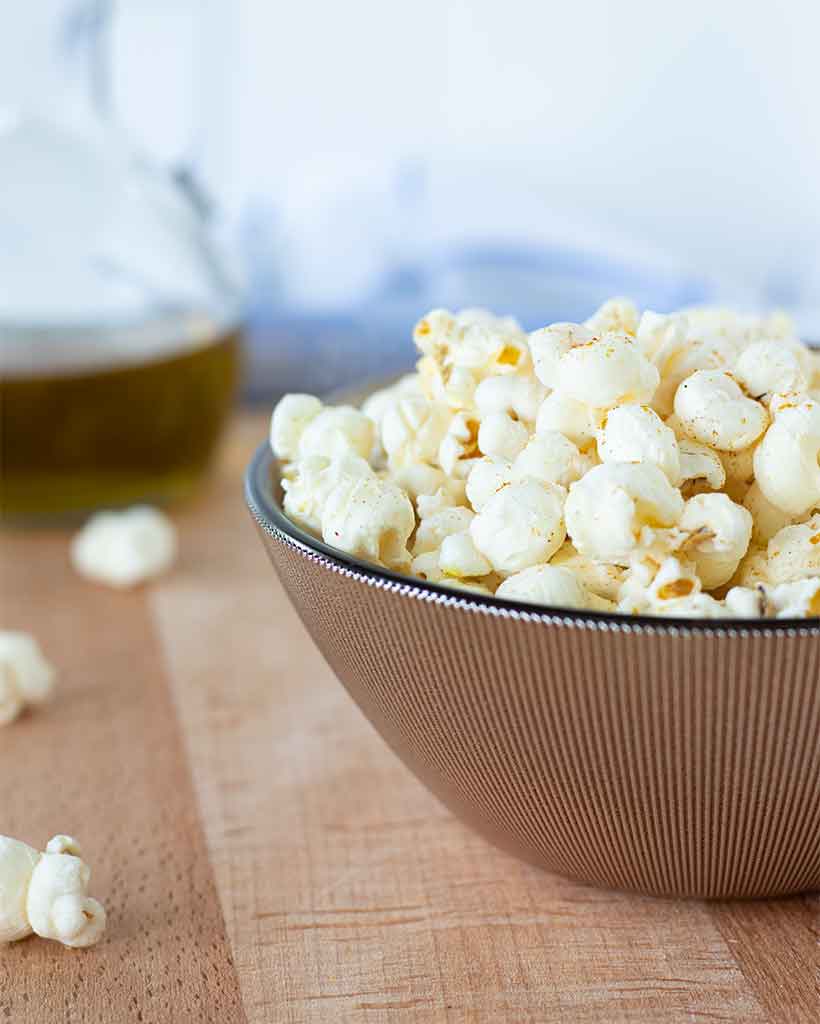
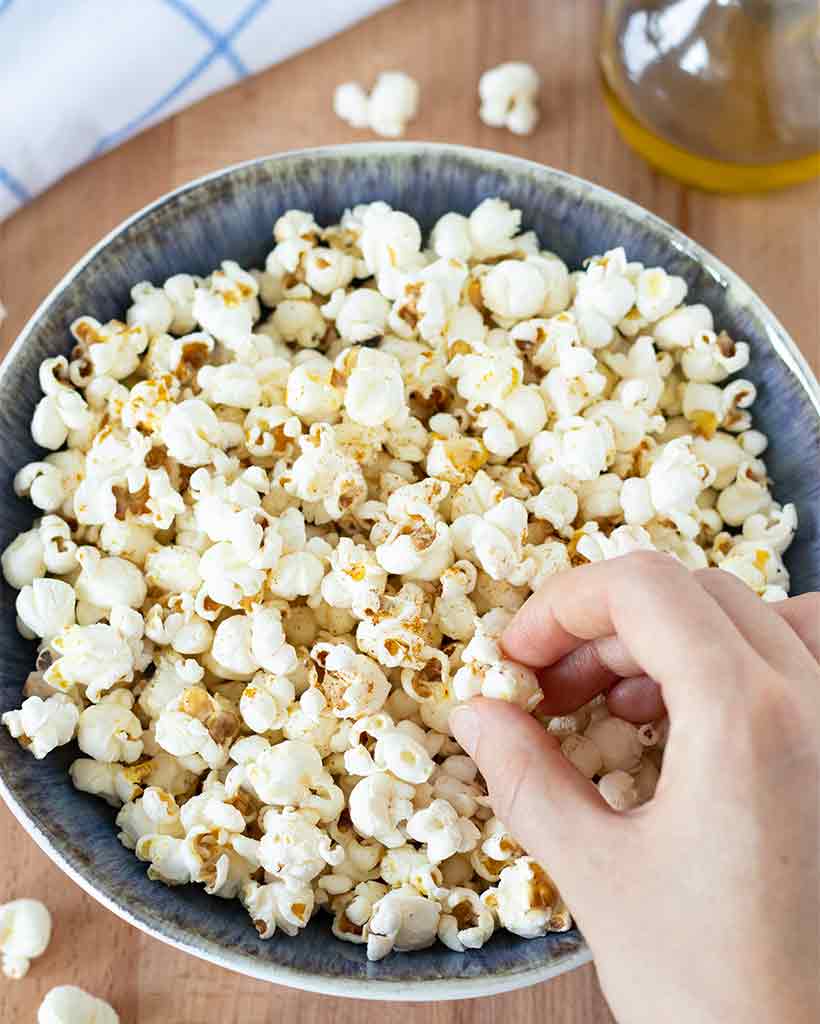
Homemade stovetop popcorn with olive oil is crispier, fresher, and more flavorful than anything at the movie theater.
You only need a few simple ingredients-just a pot, some olive oil, and popcorn kernels-no fancy equipment required.
After testing this recipe countless times, I've perfected the method for fluffy, evenly popped kernels with no burning.
It's a quick and satisfying snack, perfect for movie nights, parties, or anytime a salty craving hits. Once you try it, you'll never go back to store-bought again.
Jump to:
💡Why You'll Love This Stovetop Popcorn Recipe
- Only 3 pantry staples
- No burnt kernels or soggy popcorn
- Naturally vegan, gluten-free, and dairy-free
- Cheaper and more wholesome than store-bought popcorn
- Ready in 10 minutes or less
📋Ingredients
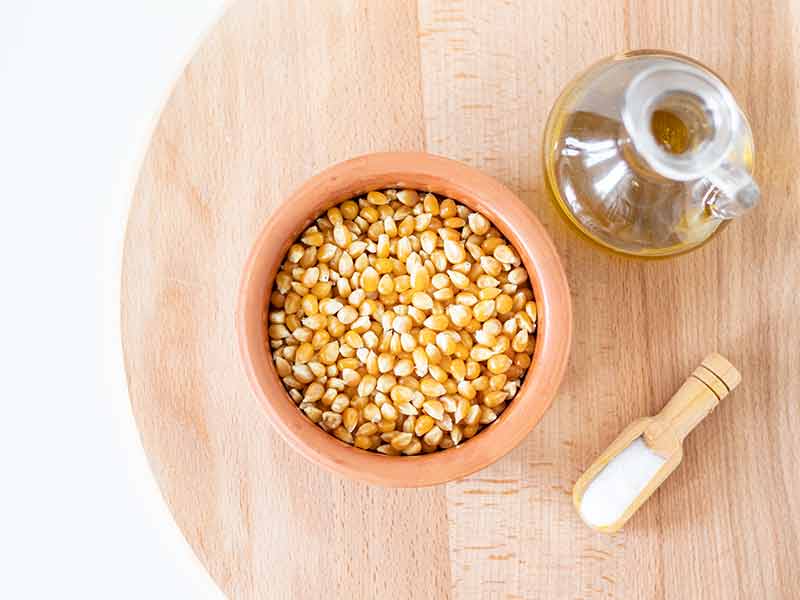
- Popcorn kernels: Use high-quality whole kernels for best results.
- Olive oil: I recommend extra virgin or light olive oil for a rich, savory flavor.
- Fine sea salt: Adjust to taste after popping.
As always, you can find the full recipe with a list of ingredients with measurements in a printable recipe card at the end of this post.
🍿How To Make Stovetop Popcorn With Olive Oil
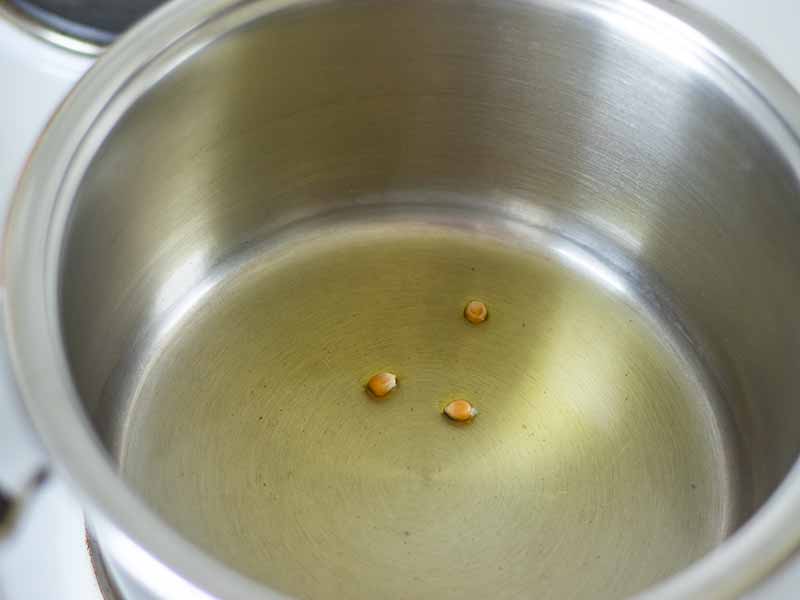
Preheat the oil: Place a large, heavy-bottomed pot on medium-high heat. Add 2 tablespoons of olive oil and 3 popcorn kernels. Cover with a lid.
👩🍳 Why the 3 kernels? They help you test when the oil is hot enough to start popping.
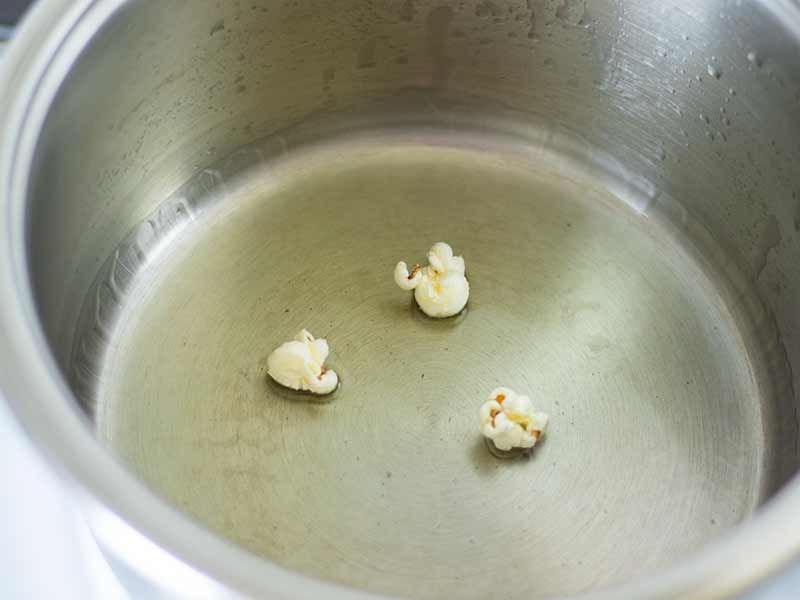
Test the oil temperature: Wait until the 3 test kernels pop. Once they pop, remove the pot from the heat, remove the popped kernels, and add the rest of the popcorn kernels.
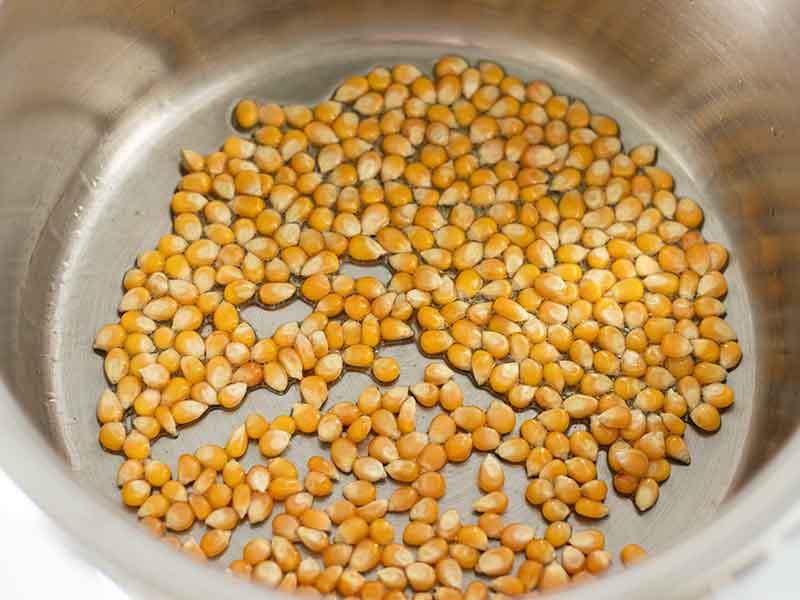
Evenly distribute the kernels: Cover the pot with the lid and gently shake it to spread the kernels evenly in one layer. Let them sit off the heat for 1 minute to bring them all to near-popping temperature.
Pop the kernels: Return the pot to the heat. Once the kernels start popping, gently shake the pot back and forth over the burner to ensure even popping. Keep the lid slightly open (or use a vented lid) to release steam for crispy popcorn.
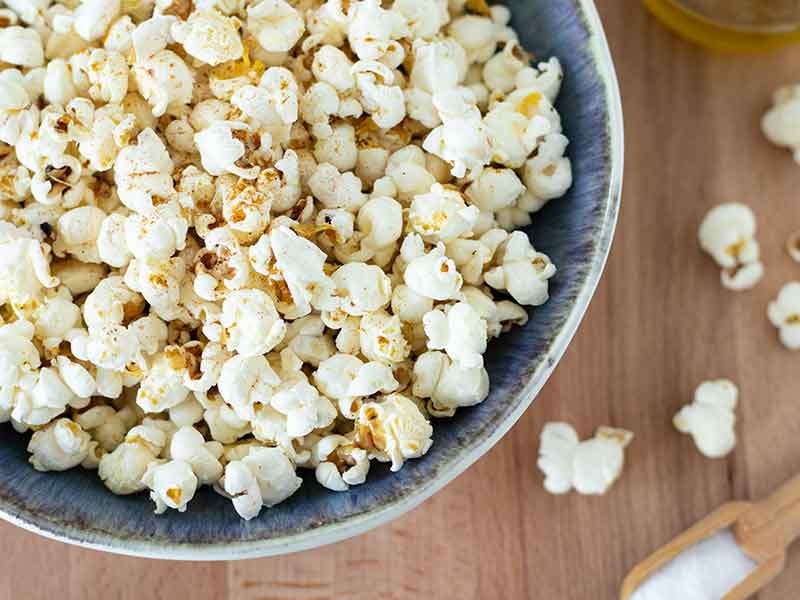
Season and serve: When popping slows to every few seconds, turn off the heat and remove the pot. Transfer popcorn to a bowl and season with salt or your favorite toppings, while still warm. Enjoy right away!
🧊Storage
To keep your popcorn fresh:
- Best enjoyed within 2-3 days.
- Let it cool completely before storing.
- Store in an airtight container or zip-top bag at room temperature.
📖Substitutions and Variations
- Oil substitutes: Coconut oil, avocado oil, sunflower oil, grapeseed oil, or dairy-free melted butter.
- Low-oil option: Use just enough to coat the bottom of the pot lightly for a lower-fat version.
- Sweet popcorn: Skip salt and drizzle with maple syrup, cinnamon, or melted chocolate.
- Savory version: In place of or alongside salt, try nutritional yeast, ground black pepper, red pepper flakes, smoked paprika, curry powder, chili powder, dried dill, garlic powder, or onion powder.
🍽Equipment
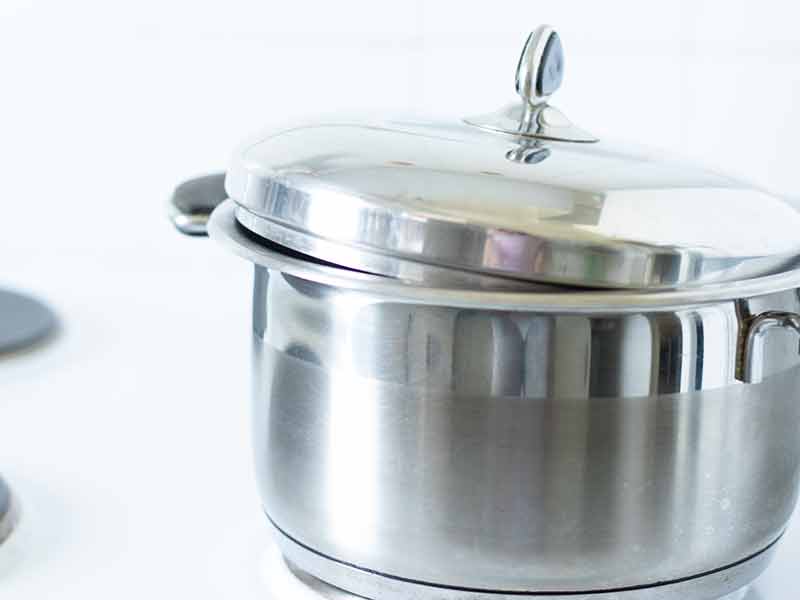
- Large, deep stainless steel or heavy-bottomed pot with a tight-fitting lid.
- Tongs or a heat-safe spoon to remove test kernels.
- Large mixing bowl for serving.
💭Marinela's Tips
- Use a quality pot that distributes heat evenly. Avoid cheap pots, as they don't heat evenly, which could lead to burnt spots on the bottom.
- Don't overheat the oil-use the 3-kernel test.
- For large batches, cook popcorn in smaller batches to ensure even popping. Spread the kernels in a single layer at the bottom of the pot.
- Leave the lid slightly open to release steam and keep popcorn crispy.
- Shake the pot often during popping to avoid burnt spots.
- Add salt or seasonings while the popcorn is still warm for maximum flavor.
❓Frequently Asked Questions (FAQ's)
Yes, plain popcorn is naturally gluten-free.
For crispy popcorn, slightly open the lid while popping to let steam escape, and shake the pot regularly to ensure even popping.
To prevent burning, use a sturdy pot, don't overheat the oil, and shake the pot gently while the kernels pop. Keep the lid slightly open to release steam for crispy popcorn.
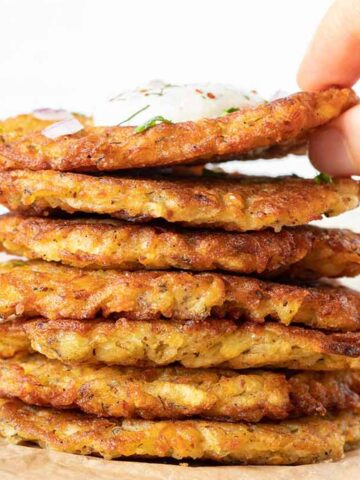
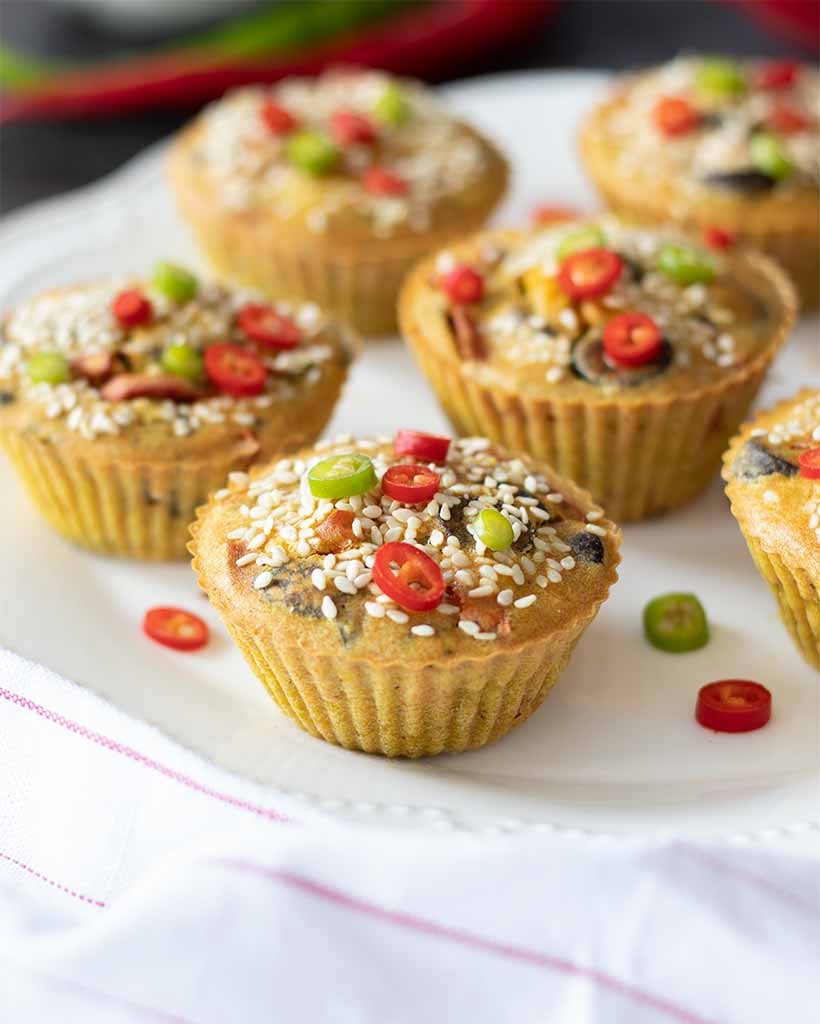
🥨More Vegan Savory Snacks
📖 Recipe
Homemade Stovetop Popcorn with Olive Oil (No Burnt Kernels)
Equipment
- 1 large, heavy bottomed pot with a lid
- 1 large mixing bowl (for serving)
Ingredients
- ⅓ cup popcorn kernels
- 2 tablespoons olive oil extra virgin
- fine sea salt to taste
Instructions
- Heat the olive oil in a large pot on medium-high.2 tablespoons olive oil
- Once the 3 kernels pop, remove the pot, remove them, and add the rest of the kernels.
- Cover and shake the pot to spread kernels in a single layer. Let it sit for 1 minute.⅓ cup popcorn kernels
- Return to heat. Shake the pot gently as the kernels pop, keeping the lid slightly open to release steam.
- When popping slows, remove from the heat. Transfer popcorn to a bowl and season while warm.fine sea salt
Notes
- Enjoy within 2-3 days.
- Let cool completely before storing.
- Store in an airtight container or zip-top bag at room temperature.
- Substitute olive oil with coconut oil, avocado oil, sunflower oil, grapeseed oil, or dairy-free melted butter.
- Use just enough oil to coat the bottom of the pot lightly for a lower-fat version.
- Use a quality pot that heats evenly-avoid cheap ones that cause burnt spots.
- Don't overheat the oil-use the 3-kernel test.
- For large batches, cook in smaller batches and spread kernels in a single layer.
- Leave the lid slightly open to let steam out and keep popcorn crispy.
- Shake the pot often during popping to avoid burnt spots.
- Add seasonings while the popcorn is still warm for the best flavor.
Nutrition
If you try this stovetop popcorn recipe, let me know! Leave a comment, rate it, and don't forget to tag a photo @go_eatgreen on Instagram.
HUNGRY FOR MORE? Subscribe to my newsletter and follow along on Facebook, Pinterest, and Instagram for all of the latest updates

Comments
No Comments